
Blog · Tool Guides · 2026-11-08
← Back to blogRemove Unwanted Objects From Photos: Watermark Remover vs AI Photo Editor vs Inpainting
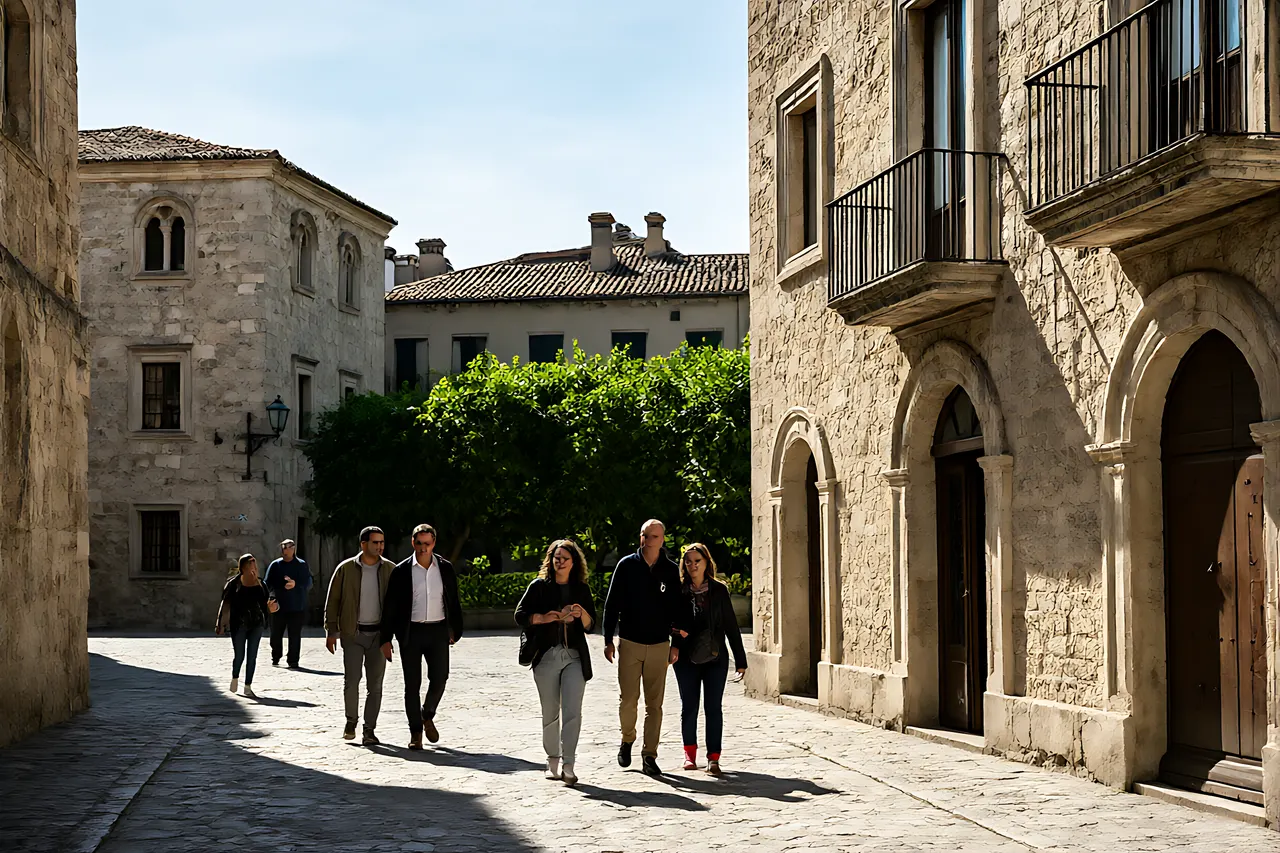
One travel photo, three things to erase: a passerby, a date stamp and overhead wires. The three tools produced very different results. I ran all of them on the same batch and built a decision table based on area and background complexity.
Quick Answer: Two Questions Pick the Tool in Ten Seconds
Forget the tool names and remember these two checks. Small, regular marks sitting on a flat area (watermarks, date stamps, logos) go to Watermark Remover. Anything large that requires understanding the scene to fill in (passersby, wires, clutter on a table) goes to AI Photo Editor, where you describe in one sentence what to remove. Only when you need to pin down exactly which patch may change do you reach for inpainting.
I gave 24 photos with unwanted elements one run on each of the three routes and kept the first output. The finding was not that one tool is stronger, but that they fill in the image in fundamentally different ways: one erases pixels, one reasons about content, and one only touches the area you mark.
What We Tested: 24 Photos, Three Kinds of Clutter, One Scorecard
For fairness, each photo had only one kind of clutter, and all three routes started from the same original with no second-pass touch-ups. That makes each tool's real boundary visible.
- Three kinds: semi-transparent watermarks and date stamps (8), background passersby and extra people (8), structural clutter like wires and glare (8)
- Backgrounds split into flat (sky, white wall, plain tabletop) and complex (cobblestone, foliage, crowds, fabric)
- Scorecard: visible retouching at edges / continuous background texture / whether the subject was damaged / whether a second pass was needed
Watermark Remover: Small Marks on Flat Backgrounds, One Pass
A watermark remover fills the marked pixels by matching the surrounding texture. It does not need to know what is in the photo, which is exactly why it is most reliable on sky, white walls and tabletops — the repair is practically invisible.
Seven of my 8 watermark photos passed in one go. The eighth sat across a person's hair, and the strands smeared into one clump. That is not a tool failure; it is the wrong tool for that position. For a full breakdown of what it can erase, see remove watermarks.
- The good: fast, one-pass, and particularly accurate on text and semi-transparent overlays
- The limits: crossing the subject or a complex texture leaves smudges; forcing a large watermark out produces repeated texture blocks
AI Photo Editor: When the Fill Requires Understanding the Scene
Passersby and wires are a different problem: once removed, what should be behind them? Cobblestone has to keep its pattern, a tree trunk has to keep growing. That requires the model to recognize the scene first. With AI Photo Editor, one sentence like remove the person in red in the background, keep the ground unchanged is enough.
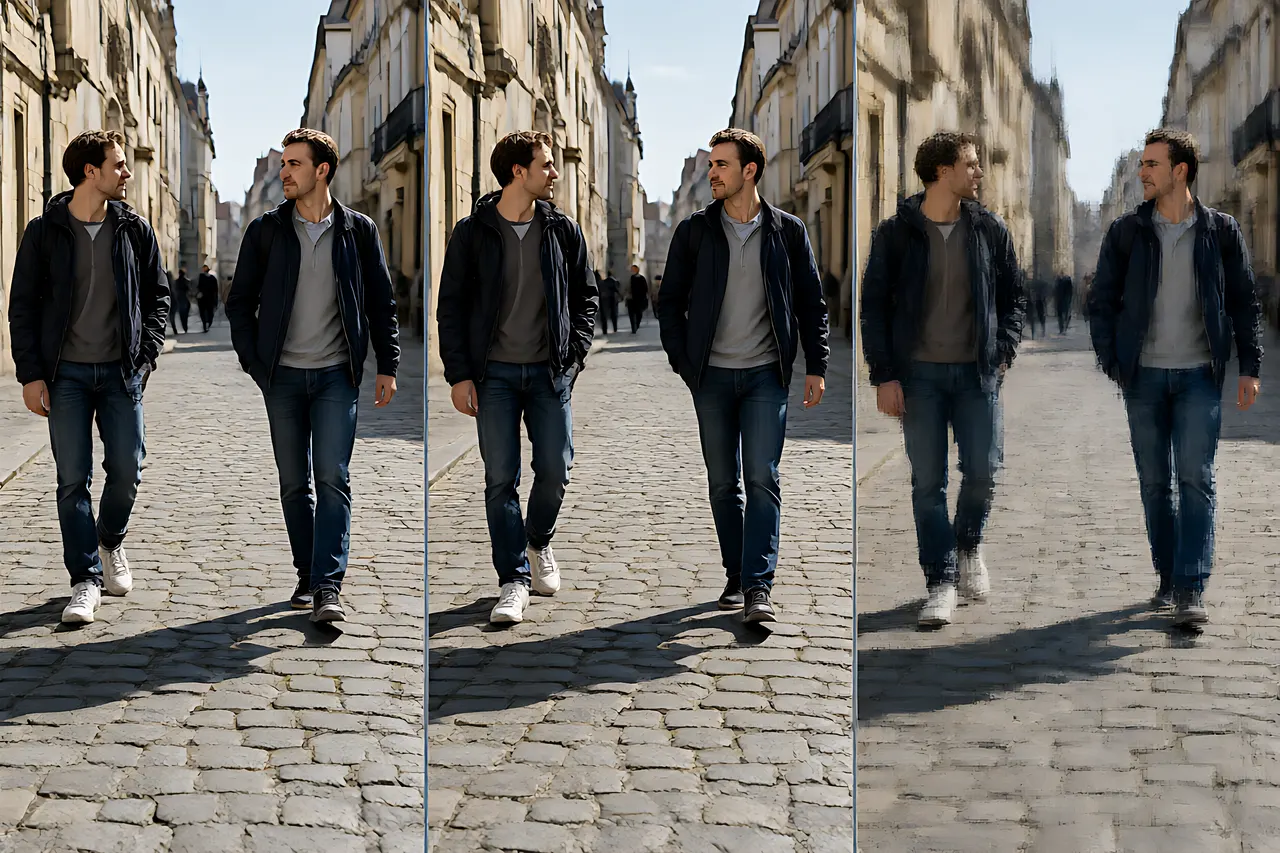
Of the 8 passerby photos, the 5 with flat backgrounds came out clean in one pass. The 3 with cobblestone or crowds showed slight texture repetition, but the subject was never damaged. In the three-panel comparison, the right panel shows what happens when a passerby is erased with a watermark tool: the ground turns into a smeared patch that is more conspicuous than the person was.
- The good: understands semantics, fills in plausible content, and protects the subject better than pixel erasing
- The limits: vague instructions remove the wrong thing; very complex backgrounds produce slightly repeated textures, so zoom in to check
Inpainting: Change Only the Patch You Mark
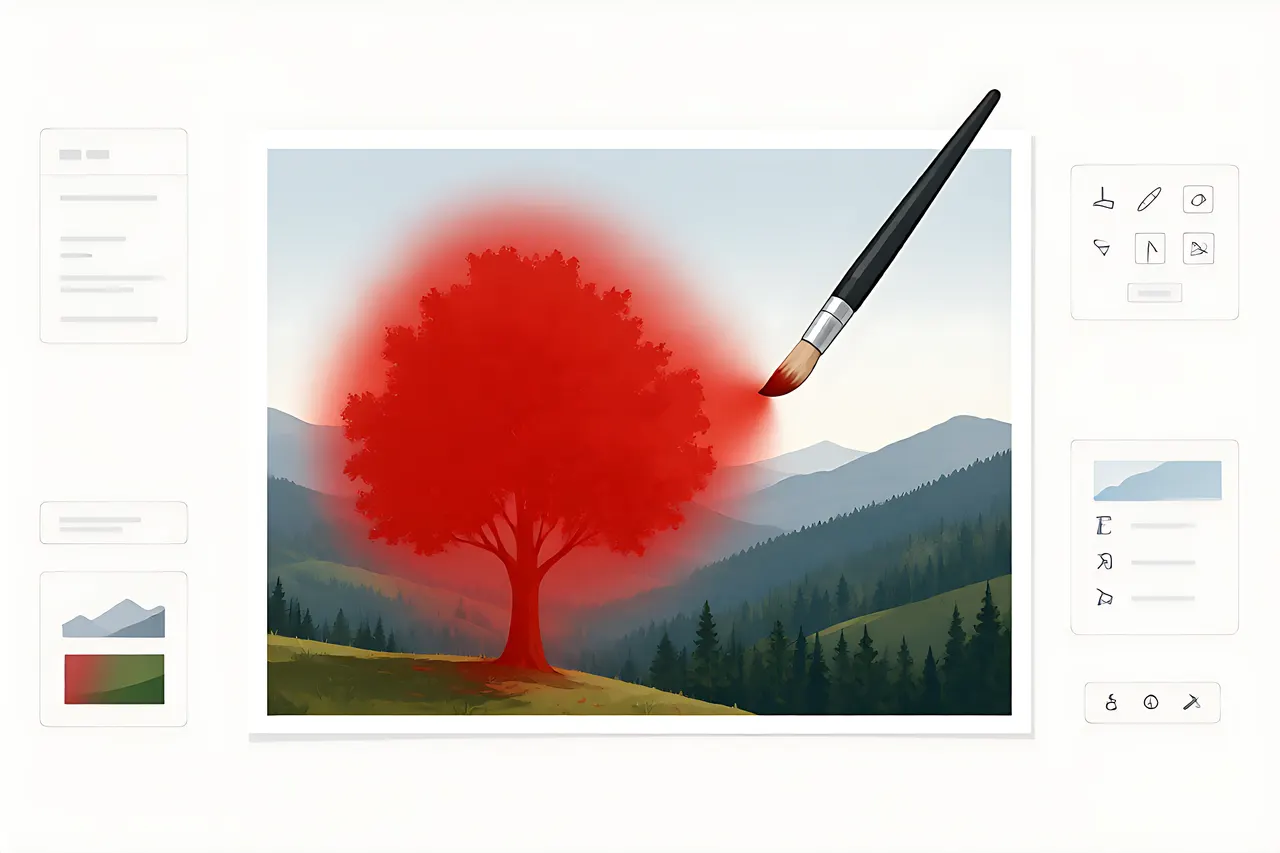
The first two tools decide the whole image for you. Inpainting adds a layer of control: paint a mask first, and the model redraws only inside it, leaving every other pixel untouched. It suits a blemish next to the subject, a small change to clothing, or adding one small prop.
The cost is setup time. You have to paint the boundary accurately — too narrow and the repair is incomplete, too wide and it eats into what should stay. It follows the same principle as image-to-image strength: controlling how much changes beats rerunning over and over.
- The good: precise, reproducible scope, and the subject is never touched
- The limits: manual masking and a learning curve; a hard mask edge can leave a visible seam
Four Kinds of Clutter, Four Difficulty Levels
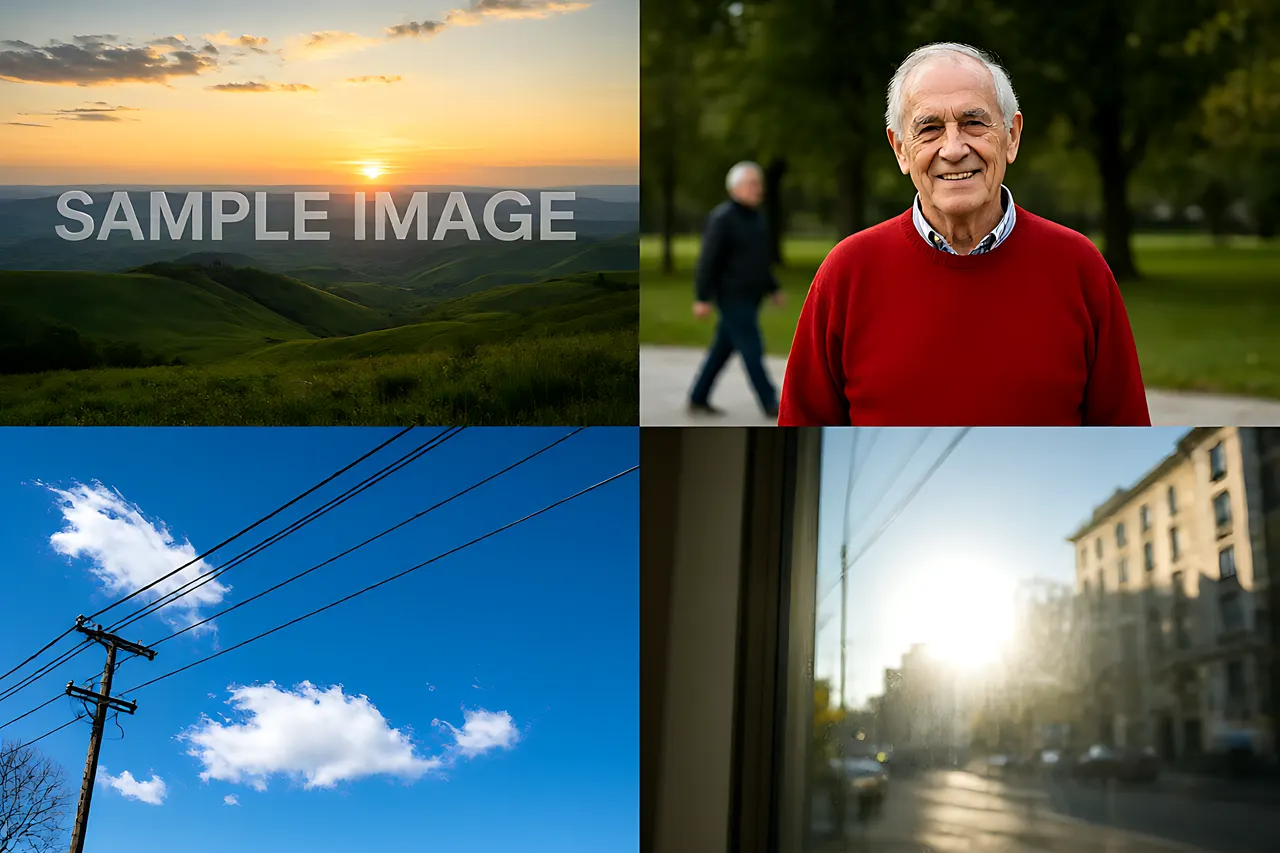
Remove it sounds like one task, but the difficulty varies widely. Identify which kind you have before you start:
- Semi-transparent watermark or date stamp: easiest, almost guaranteed on a flat area
- Wires or railings across a sky: thin but against a simple background, one-sentence editing handles it
- A passerby pressed right against the subject: hardest, since the subject's clothing or hair is easily altered — use inpainting to shrink the area
- Glass reflections or large dense watermarks: the hidden information physically cannot be recovered. Reduce it and stop; do not keep scrubbing
Scenario Decision Table: Pick Once, Stop Experimenting
Here are the real requests I ran into, mapped to a tool:
- A logo or date stamp in the corner of a web image → Watermark Remover
- Tourists or a stray bin in a travel photo → AI Photo Editor
- Only one small patch may change, everything else must stay → inpainting (see the inpainting guide)
- Want a clean new background after the cleanup → cut out the subject with Background Remover first, then recompose
- The image looks a little soft after cleanup → finish with one pass of Image Sharpen to bring the texture back
Three Pitfalls Worth Avoiding
These three showed up 11 times across the 24 photos, and all of them are avoidable:
- Pitfall one: erasing a person with a watermark tool. At that size it can only copy neighboring pixels, so the ground turns to mush and reads worse than the original person.
- Pitfall two: vague instructions. Remove the extra stuff makes the model guess, and it often deletes the bag in the subject's hand too. Name the position, color and clothing: remove the person in red on the left.
- Pitfall three: scrubbing the same patch three or four times. Every pass costs real texture, and by the third a plastic sheen is guaranteed. Switch tools instead of grinding.
Frequently Asked Questions
Can I remove a watermark from someone else's photo? Only on images you own or are licensed to use. A watermark on another creator's work is a rights notice — do not strip it, and never use it commercially.
Are all three tools free? Yes. All work online, need no sign-up, and download without watermarks.
Are my photos stored? Photos are used only for the current generation; history stays local in your browser and is never archived on a server.
Why does the filled ground repeat its pattern? The background exceeded what the model can infer. Switch to inpainting with a smaller area, or accept a faint trace — that beats endless reruns.
Can I clear a watermark and a passerby at once? Do it in two passes: remove the person first, then the watermark. Reversed, the watermark gets redrawn as background texture.
Related tools
Free, no sign-up tools that put the ideas in this article to work.
Related posts
Colorizing Black-and-White Photos: A Practical Tutorial for Natural, Subtle Results
The most common pitfall in colorization is oversaturation, turning an old photo into a generic color filter. Here are the parameters I use to achieve natural-looking color.
Turn a Photo Into Art: 3D Cartoon vs Sticker Portrait vs Illustration — Which AI Tool Should You Use?
Same face, three AI tools, three completely different results. A hands-on comparison of 3D cartoon, sticker portrait, and hand-drawn illustration styles: what each is for, which survives shrinking into an avatar, and how to choose without trial and error.
How to Make an AI Avatar: A Hands-On Comparison of 3D Cartoon, Chibi, and Sticker Styles
I ran the same selfie through three tools—3D cartoon, chibi cartoon, and sticker portrait. Similarity, best use cases, and failure modes are all different. Here's how to choose.
How to Colorize Black & White Old Photos with AI: A Real-World Test of 3 Color Styles
With one 1979 black-and-white family photo, I tested three colorization approaches—natural restoration, vivid cinematic, and seasonal mood. Skin tone differs the most; clothing color fails the most. Includes prompt patterns and the right order of operations.

Reverse-engineering prompts from reference images: turning what you see into reusable text
You see an image you like—how do you turn it into your own prompt? I've developed a five-step breakdown method, and the last step is the most important.
How to Use Image-to-Image: Upload Photos to Change Style and Background Tutorial
Image-to-image is far more controllable than text-to-image. This guide explains how to use a reference image to create multiple style branches, and how to chain 'matting – editing – upscaling' into a complete workflow.