
Blog · Tool Guides · 2026-11-08
← Back to blogOld Photo Repair: Should You Restore, Colorize, or Upscale First? A 20-Photo Test
The same damaged old photo can look completely different depending on the order you process it. I ran 20 real family photos through all six possible orders of repair, colorizing and upscaling to find the right workflow, explain why the wrong order amplifies scratches, and compare scanning with phone snapshots.
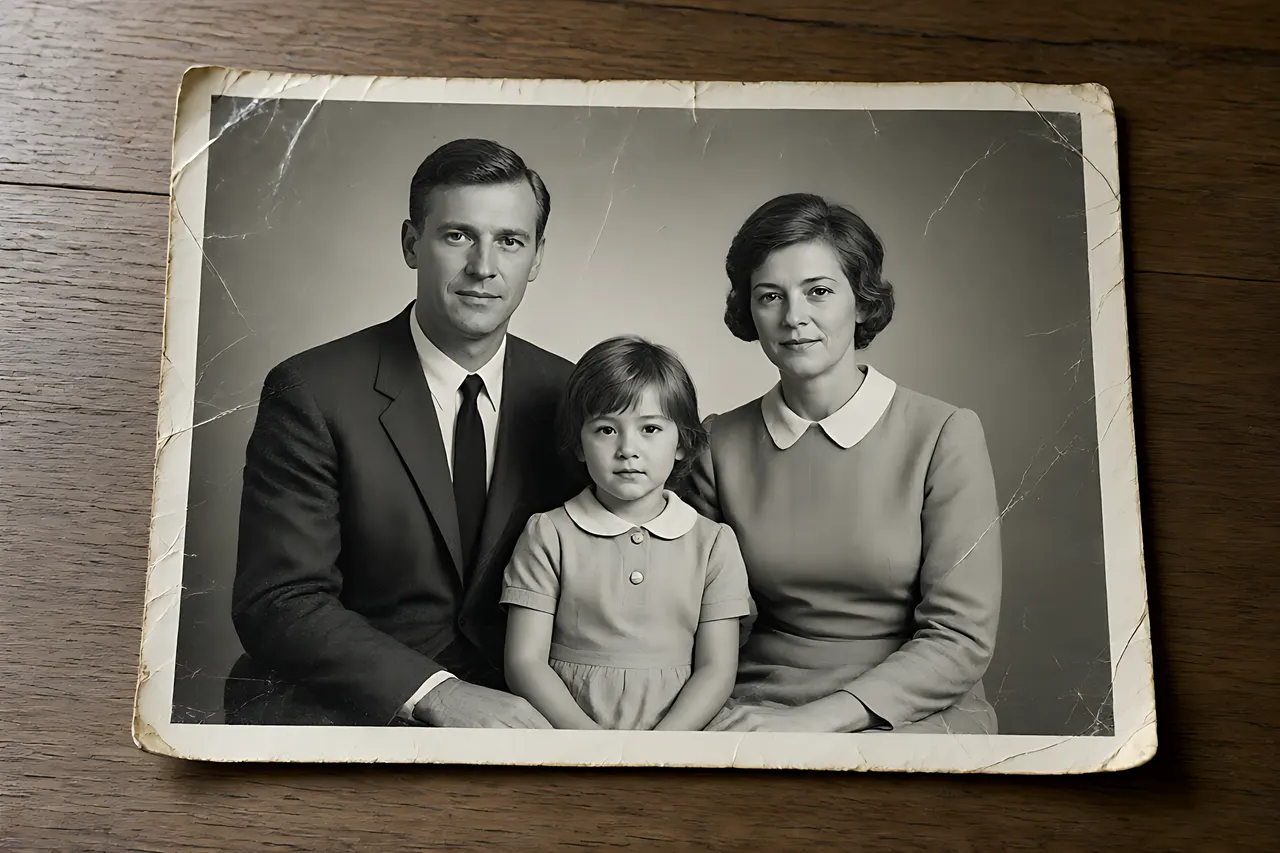
Quick Answer: There Is Only One Correct Order
If you skip the tests, remember this: remove scratches and creases first, colorize second, upscale last. Every other order plants a problem for the next step — upscaling first sharpens the scratches as if they were detail, and colorizing first makes the model treat mold spots as skin tone, leaving you with a dirty, oversaturated image.
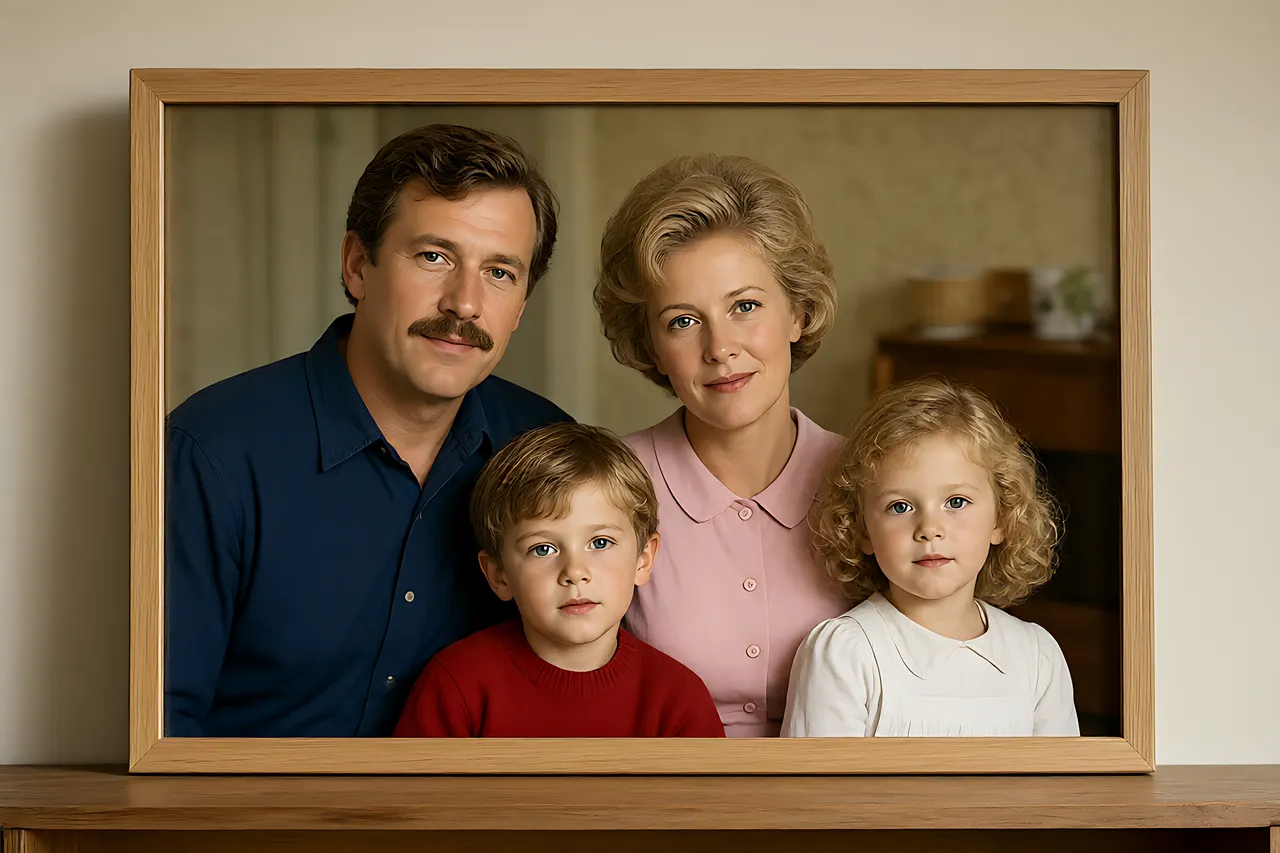
Free Old Photo Restoration handles scratch removal and colorizing in one pass, which is plenty for sharing with family. But if you plan to print, frame or archive at high resolution, run the three steps separately in that order. The difference in output is shown below with real samples.
The 20 photos were 11 black-and-white and 9 faded color prints from the 1960s to the 1990s, covering creases, mold, torn corners and fading. I ran all six orders on every one of them, and the result was remarkably consistent.
What We Tested: 20 Photos, Six Orders, One Scorecard
To avoid cherry-picking a flattering example, I ran all six orders on the same set of photos and kept only the first output from each, with no rerolls. I judged three things: whether the damage was gone, whether the color looked natural, and whether facial features survived enlargement.
- Six orders: repair → colorize → upscale, upscale → repair → colorize, colorize → repair → upscale, repair → upscale → colorize, colorize → upscale → repair, and all three at once
- All base images were 300 dpi scans so phone-camera quality could not skew the comparison
- One run per photo, no manual touch-ups, matching what most people get on their first upload
- Scorecard: leftover damage / natural color / readability of faces and fabric texture after enlargement
Step One: Repair First, So the Noise Is Gone at the Source
Repair is about deciding what is image information and what is damage. Scratches, creases and mold are the latter, and the model fills them in using its understanding of faces and clothing. This has to come first, because every later step treats the current pixels as fact.
In the 14 of 20 photos where I colorized before repairing, the mold spots turned into yellow or green blotches; by the time I repaired them, the model could no longer tell stain from shadow and simply smoothed everything into a plastic-looking face. Do not skip old photo restoration.
- Remove scratches, fill gaps and clean mold before touching color or sharpness
- Torn corners and large missing areas can only be guessed at — stop once the fill looks unobtrusive
- Zoom in on the faces after repair to confirm wrinkles were not mistaken for scratches, then move on
Step Two: Colorize on a Clean Image
Colorizing is the step most dependent on a clean base. The model reads tonal layers and object boundaries; a crease is a high-contrast line and a mold spot is an anomalous gray patch, and both get treated as structures that need color. That is exactly why the wrong order looks dirty.
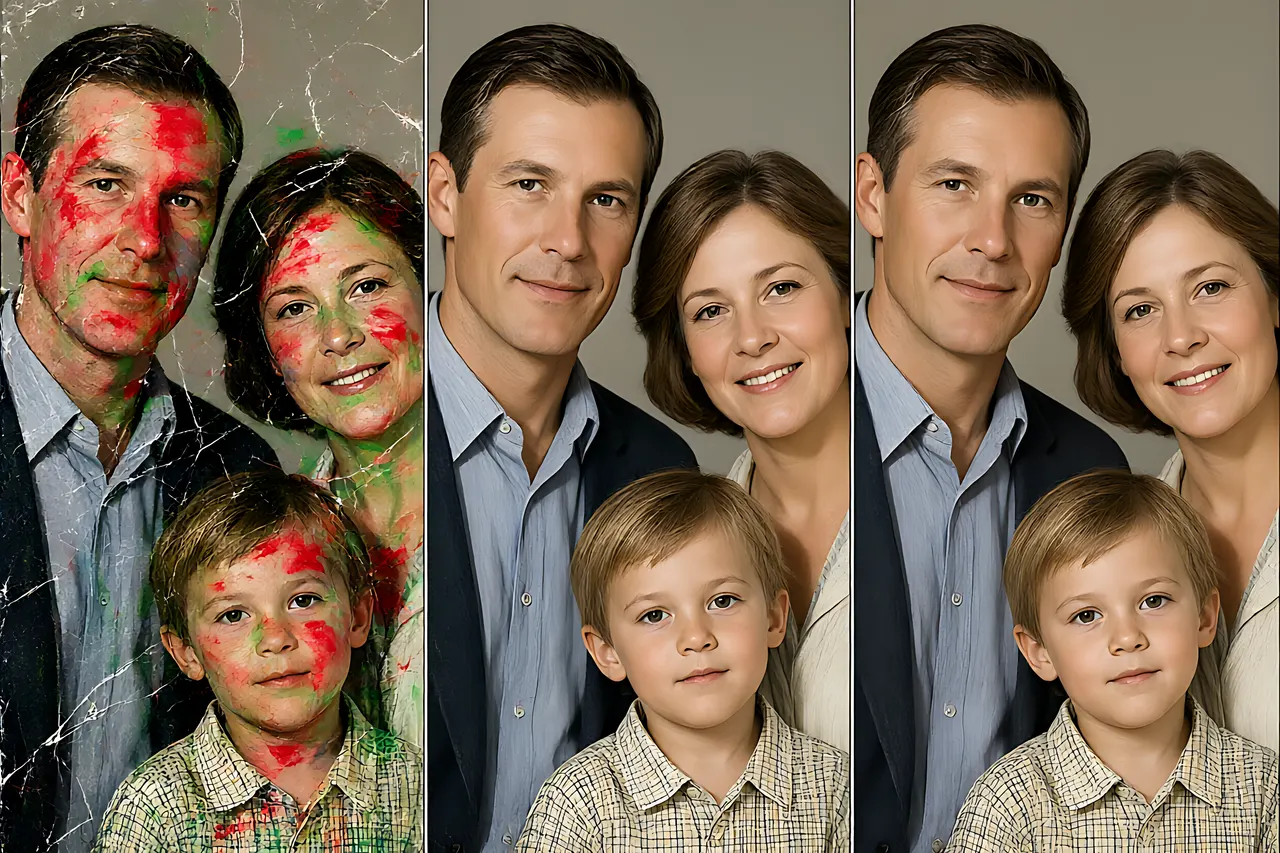
In the three-panel comparison, the left panel is colorize-then-repair: mold and scratches were dyed together into red and green blotches and the skin is ruined. The middle and right panels were both repaired before colorizing, so color settles evenly on fabric and skin; the right one is the enlarged final version. For a deeper look at palettes, see black and white colorize.
- For black-and-white photos, pick a natural, low-saturation look — old photos should never have a punchy digital palette
- Do not recolor a faded color print; fix the color cast once and keep the original tonality
- Skin and lips are the fastest tell for natural color — check those two first
Step Three: Upscale Last — Super-Resolution Only Enlarges What Is Already Right
A super-resolution model does not judge quality; it makes existing pixels look more like detail. That is why upscaling must come last, when the only things left to enlarge are eyelashes, hair strands and fabric weave. Get the order right and the result is ready for printing and framing.
If the original is soft, do one light pass with Image Sharpen before repairing rather than treating sharpening as a substitute for upscaling. The difference between the two is covered in image upscaling.
- Stop at 2x. At 4x you are only enlarging the model's guesses for everyone to see
- Only upscale for print; a 300 dpi scan at native size is already enough for messaging apps and phone galleries
- Back to 100% view after upscaling: if eyes and fingers look waxy, undo and rerun the previous step
Before All That: Scanning vs Phone Snapshots Sets the Ceiling
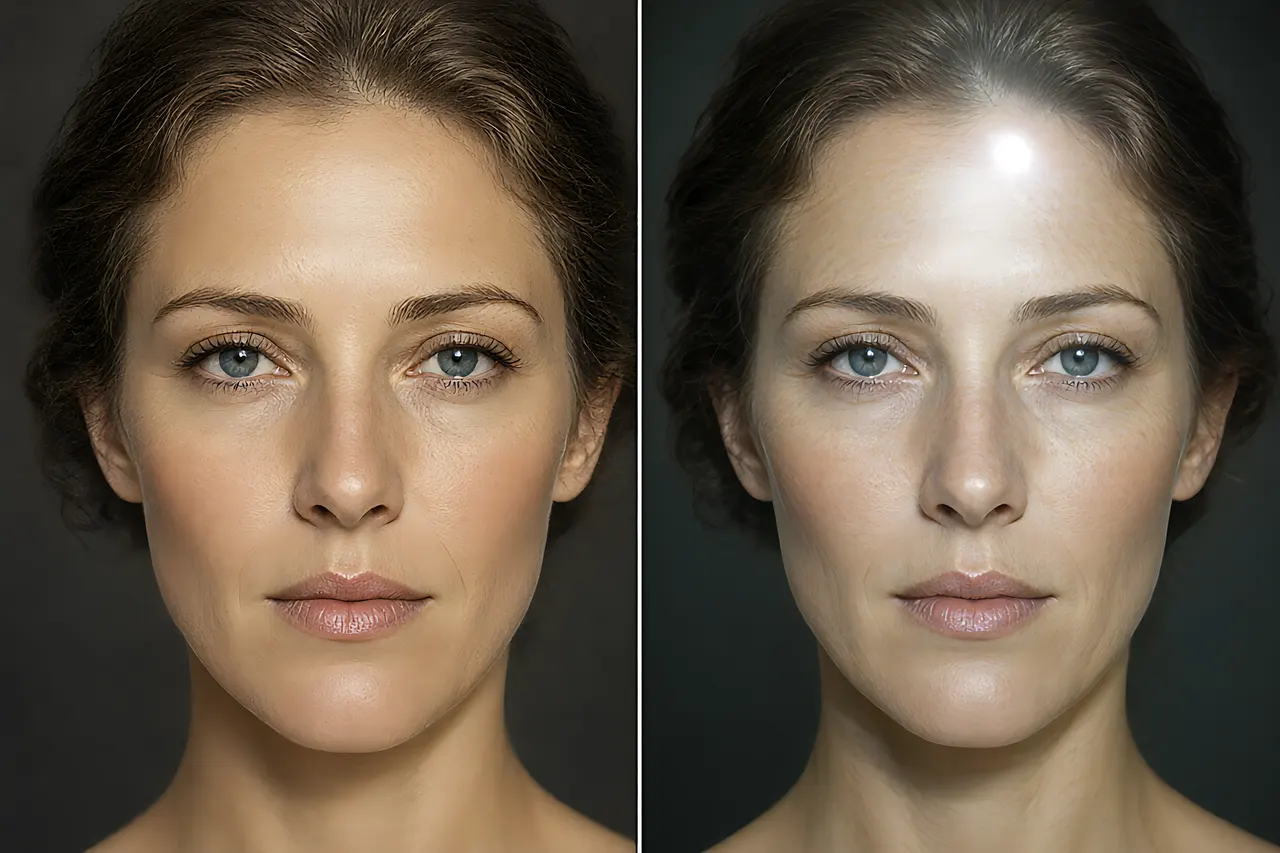
Order matters, but the base image sets the ceiling. I digitized one print both ways: the 300 dpi flatbed scan kept eyelashes and fabric weave, while the phone snapshot added moire, glare and soft edges. No sequence of later steps can recover those.
Without a scanner, put the print in indirect window light, keep the phone parallel to it, turn off the flash, and rest the phone on two books for stability. Crop away the desk and white border before starting the repair flow — that alone gets you most of the way back.
Scenario Decision Table: Match the Photo to the Workflow
Not every old photo needs all three steps. Choosing by final use removes half the work:
- Sharing in a family group chat → one pass with Free Old Photo Restoration, no upscaling
- A black-and-white print that needs natural color → repair first, then the three palettes in old photo colorize
- Printing, framing or a memorial album → all three steps, finishing with one light pass of Image Sharpen
- The photo itself is blurry and faces are soft → sharpen before repairing, then stop; do not force color onto it
- Only a phone snapshot, no original → retake it using the method above instead of endlessly fixing it in post
Three Pitfalls I Hit Across All 20 Photos
Outside of ordering, failures clustered in three places:
- Pitfall one: upscale before repair. In 17 of 20 photos the scratches were sharpened into hard white lines, making them harder for the model to classify as damage. Upscale always goes last.
- Pitfall two: recoloring repeatedly. Three colorize passes on one image made the skin progressively more orange. Go back to the repaired grayscale version instead of stacking on top of color.
- Pitfall three: forcing a repair when half the face is missing. The model can only guess, and the result looks plausible while not being the person. For family archives, a visible gap is better than letting AI give a relative a new face.
Frequently Asked Questions
Do the three steps cost anything? No. The repair, colorize and sharpen tools mentioned here are all free, work online, need no sign-up, and download without watermarks.
Are my photos stored on a server? Photos are used only for the current generation. History stays local in your browser and is never archived on a server.
Does a faded color print need colorizing? Usually not. Fix the color cast and contrast first; adding color again tends to look fake.
The order is right but the face still looks off? The base scan is probably too low-resolution or soft. Rescan at a higher dpi instead of tweaking tool settings.
Can I batch all 20? Yes, but test the worst photo first to fix your parameters, then apply the same order to the rest — that is what keeps tones consistent across a set (see batch-generating images).
Related tools
Free, no sign-up tools that put the ideas in this article to work.
Related posts
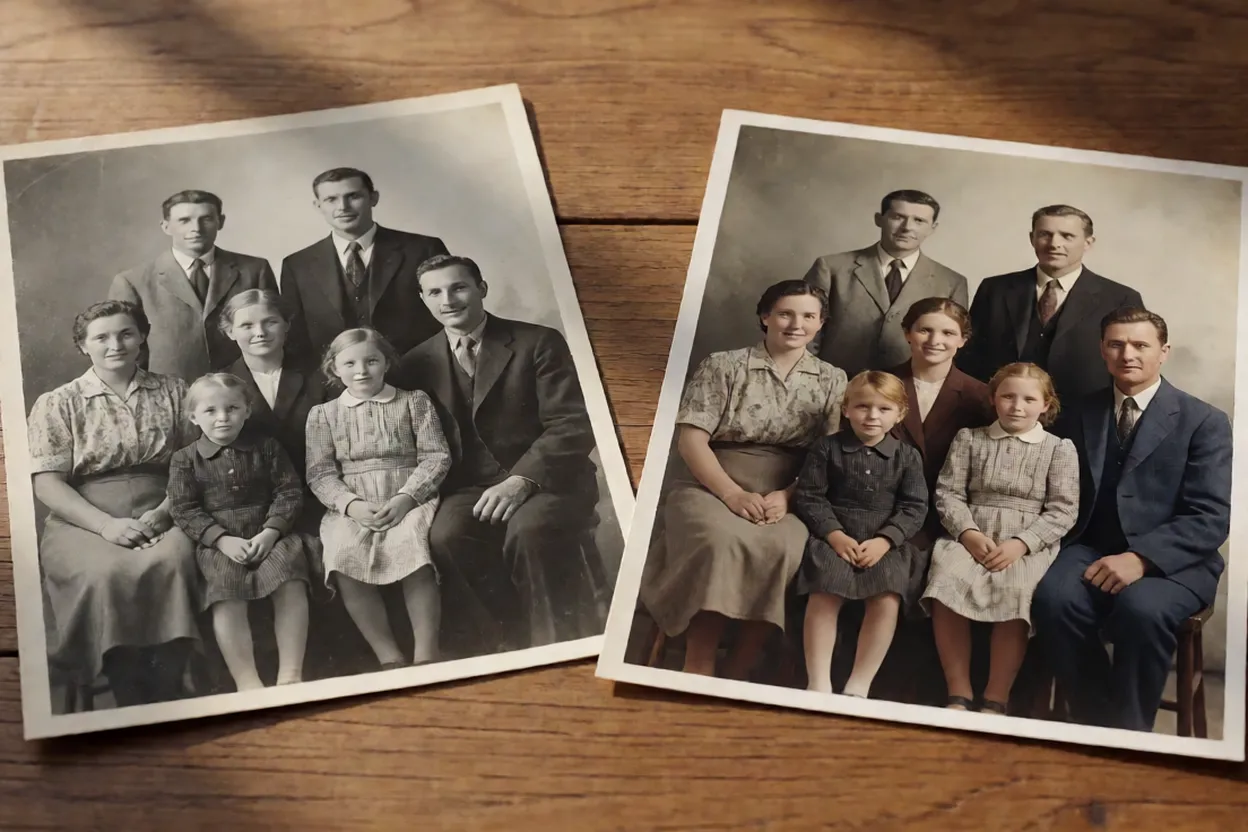
Colorizing Black-and-White Photos: A Practical Tutorial for Natural, Subtle Results
The most common pitfall in colorization is oversaturation, turning an old photo into a generic color filter. Here are the parameters I use to achieve natural-looking color.
How to Make a Professional Headshot With AI (Without a Studio): Background, Light and Sharpness
Can an ordinary indoor selfie become a LinkedIn-ready headshot? I ran 12 selfies through a three-step flow — swap the background, fix the light, add a little sharpness — and documented the base-photo standard, how to choose among four backdrop colors, and the three tells that give AI away.
Text-to-Image vs Image-to-Image: When You Actually Need a Reference Photo
The same prompt, a corgi in a red scarf in the snow, produces completely different results depending on whether you start from words or from a photo. I ran 15 briefs through both routes and four strength settings to draw a clear line for when a reference image is mandatory.
Turn a Photo Into Art: 3D Cartoon vs Sticker Portrait vs Illustration — Which AI Tool Should You Use?
Same face, three AI tools, three completely different results. A hands-on comparison of 3D cartoon, sticker portrait, and hand-drawn illustration styles: what each is for, which survives shrinking into an avatar, and how to choose without trial and error.
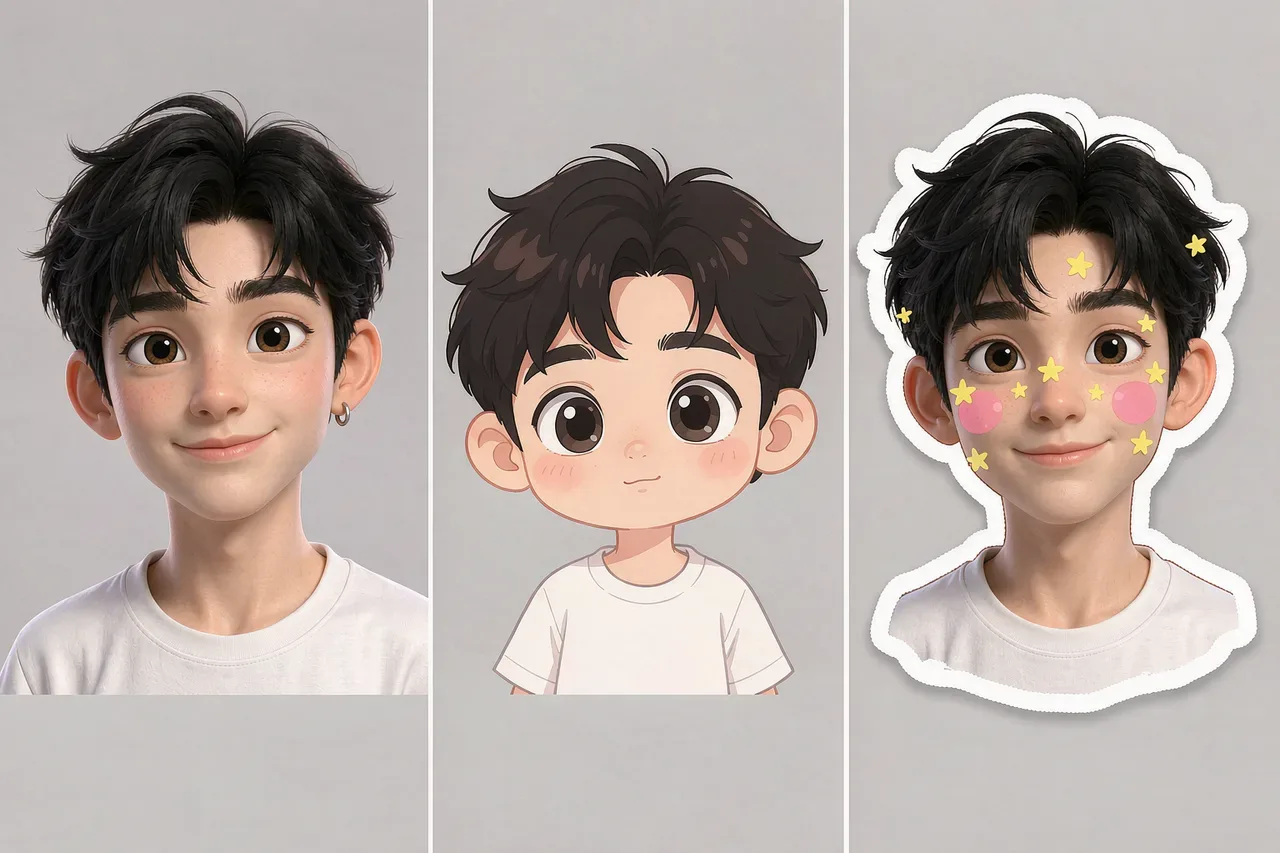
How to Make an AI Avatar: A Hands-On Comparison of 3D Cartoon, Chibi, and Sticker Styles
I ran the same selfie through three tools—3D cartoon, chibi cartoon, and sticker portrait. Similarity, best use cases, and failure modes are all different. Here's how to choose.
Bringing portraits to life: tips for generating catchlights and pupil details
Eyes are the focal point of facial expression; a slightly off catchlight can turn a lively portrait into a lifeless one. Here’s my complete workflow for adjusting eyes.